
Understanding Spray Foam Removal London
Spray foam insulation is a popular choice for homeowners seeking energy efficiency and comfort. However, it may not always be the best fit for every property. The spray foam removal London involves careful consideration and professional handling to ensure the process is safe and effective. This article delves into the intricacies of spray foam removal, encompassing its necessity, the removal process, and what homeowners should keep in mind moving forward.
What is Spray Foam Insulation?
Spray foam insulation is created by mixing two chemicals that expand when applied to surfaces, forming a solid foam layer. It acts as an insulator, filling gaps and air leaks, thus enhancing energy efficiency. The foam provides thermal resistance and can reduce energy bills, making it an attractive choice for many homeowners. However, its application is complex, requiring precision and expertise.
Reasons for Removal
There are several reasons why homeowners may consider removing spray foam insulation:
- Mold Growth: If moisture gets trapped within or behind the foam, it can lead to mold, adversely affecting indoor air quality.
- Chemical Sensitivities: Some residents may develop sensitivities to the chemicals within spray foam over time.
- Renovations: Home remodeling or the desire to replace old insulation can necessitate removal.
- Improper Installation: If not applied correctly, spray foam can create air pockets and reduce effectiveness.
Signs You Need Spray Foam Removal
Identifying issues early can save time and expense in the long run. Here are common signs indicating the need for spray foam removal:
- Visible Damage: Cracking, peeling, or discoloration of the foam.
- Musty Odors: A lingering smell may point towards mold or water damage.
- Inconsistent Temperatures: Difficulty maintaining desired temperatures in your home can suggest poor insulation performance.
- Health Issues: Unexplained respiratory issues or allergies may arise due to pollutants trapped by the foam.
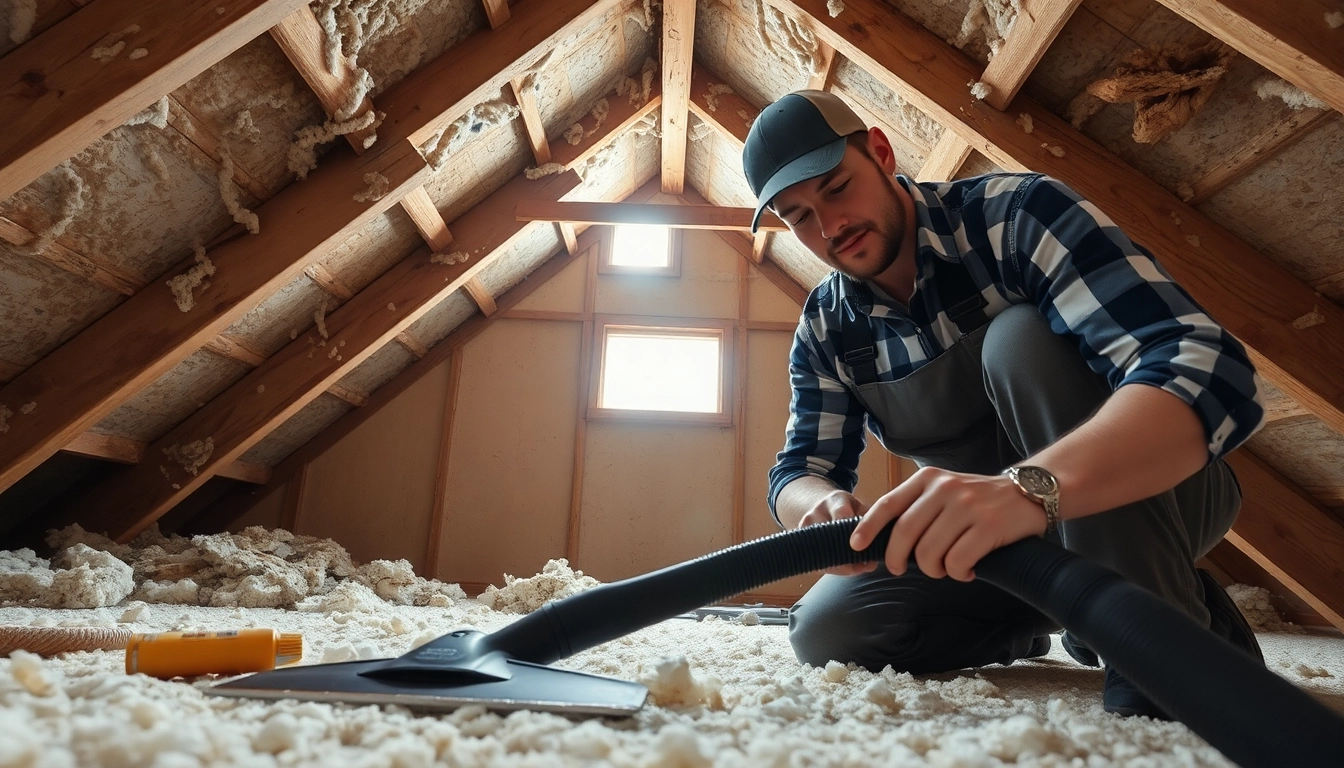
The Spray Foam Removal Process
Tools and Equipment Used
The successful removal of spray foam insulation requires specific tools and equipment to ensure safety and efficiency:
- Protective Gear: Gloves, goggles, and respirators to protect against fumes and skin contact.
- Utility Knife: Ideal for cutting through foam layers precisely.
- Heat Gun: Helps to soften foam for easier removal.
- Blower or Vacuum: Used to clean up debris and remnants following removal.
- Saw or Scraper: For larger areas where foam has hardened and adhered to surfaces.
Step-by-Step Removal Process
Here’s a detailed look at the removal process:
- Preparation: Ensure the area is free of furniture and secure the work zone.
- Safety Measures: Put on all protective gear before starting.
- Cutting the Foam: Use a utility knife to slice through the foam, cutting at angles to control the removal.
- Heating: If the foam is stubborn, employ a heat gun to soften it before cutting.
- Cleanup: Remove debris using a blower or vacuum, ensuring the area is thoroughly cleaned.
Safety Measures to Consider
Safety must be a top priority during the removal process:
- Ventilation: Ensure adequate airflow in the working area to dissipate fumes and chemicals.
- Proper Gear: Always use personal protective equipment, including gloves, goggles, and breathing protection.
- Chemical Awareness: Familiarize yourself with any chemicals involved in the spray foam, including potential health risks.
- Follow Protocols: Stick to established safety protocols and guidelines for any machinery or chemicals used.
Choosing the Right Professionals for Spray Foam Removal London
What to Look for in a Service Provider
Selecting a qualified service provider is crucial for effective spray foam removal. Key factors to consider include:
- Certification: Look for professionals certified in hazardous materials handling and removal.
- Experience: A provider with a proven track record and extensive experience in spray foam removal will ensure quality work.
- Insurance: Verify that the company holds relevant liability insurance to protect your property during removal.
- References: Request references or case studies from previous clients to assess their satisfaction level.
Questions to Ask Before Hiring
Before committing to a removal service, consider asking these questions:
- What is your experience with spray foam removal? Understanding their background in the specific service will highlight their expertise.
- Can you provide documentation of qualifications? This includes licenses, insurances, and certifications related to safety and removal.
- What safety measures do you implement? Gauge their commitment to safety and professionalism.
- What is the estimated timeline for completion? Knowing when to expect the job done can help with your scheduling.
- What guarantee do you offer? Inquiry about warranties regarding their work can offer peace of mind.
Understanding Cost Factors
The cost of spray foam removal can vary significantly based on several factors:
- Size of the Area: Larger areas will naturally incur higher removal costs.
- Accessibility: Difficult-to-reach locations may require specialized equipment, increasing labor time and cost.
- Type of Foam: Some spray foams are easier to remove than others, affecting the overall cost.
- Additional Repairs: If damage occurs during removal, repair costs will be added to the final bill.
Post-Removal Considerations
Common Issues After Removal
Once spray foam insulation is removed, homeowners may face several common issues:
- Structural Integrity: Ensure walls or ceilings where foam was removed are intact and stable.
- Air Quality: You may need air quality tests to ensure no residual chemicals remain in the air.
- Insulation Gaps: Be prepared to address insulation gaps to maintain energy efficiency in your home after removal.
Sealing and Insulating Alternatives
After removal, it’s essential to consider alternative insulation options:
- Fiberglass Insulation: A common alternative, fiberglass is non-toxic and easy to install.
- Cellulose Insulation: Made from recycled paper, cellulose is an eco-friendly option providing excellent thermal protection.
- Mineral Wool: This type of insulation offers fire resistance and soundproofing properties.
Maintenance Tips for Homeowners
Maintaining your home after spray foam removal requires vigilance. Here are some tips:
- Regular Inspections: Check for signs of water damage, mold, or pests that may compromise your new insulation.
- Monitor Air Quality: Use air purifiers and consider regular indoor air quality assessments.
- Document All Changes: Keeping records of work done can help in future renovations or sales.
Frequently Asked Questions
What Is the Average Cost of Spray Foam Removal in London?
The cost can vary based on size and complexity but generally ranges from a few hundred to several thousand pounds, depending on the factors involved.
How Long Does the Removal Process Take?
Typically, the process can take anywhere from several hours to a couple of days, depending on the area size and removal method used.
Can I Remove Spray Foam Myself?
While DIY is possible, it is not recommended due to safety risks and potential for improper removal that can cause damage.
What Should I Do After the Removal?
After removal, consider inspecting the area for any required repairs, and think about insulation alternatives for energy efficiency.
Is Spray Foam Removal Safe for My Home?
With professional service, spray foam removal can be safe and effective, minimizing risks associated with leftover chemicals and potential structural damage.